Wiring a light switch is a relatively simple process, but it’s important to follow proper safety protocols and ensure that you have the necessary tools and materials before getting started.
In this article, we’ll provide a step-by-step overview of how to wire a light switch.
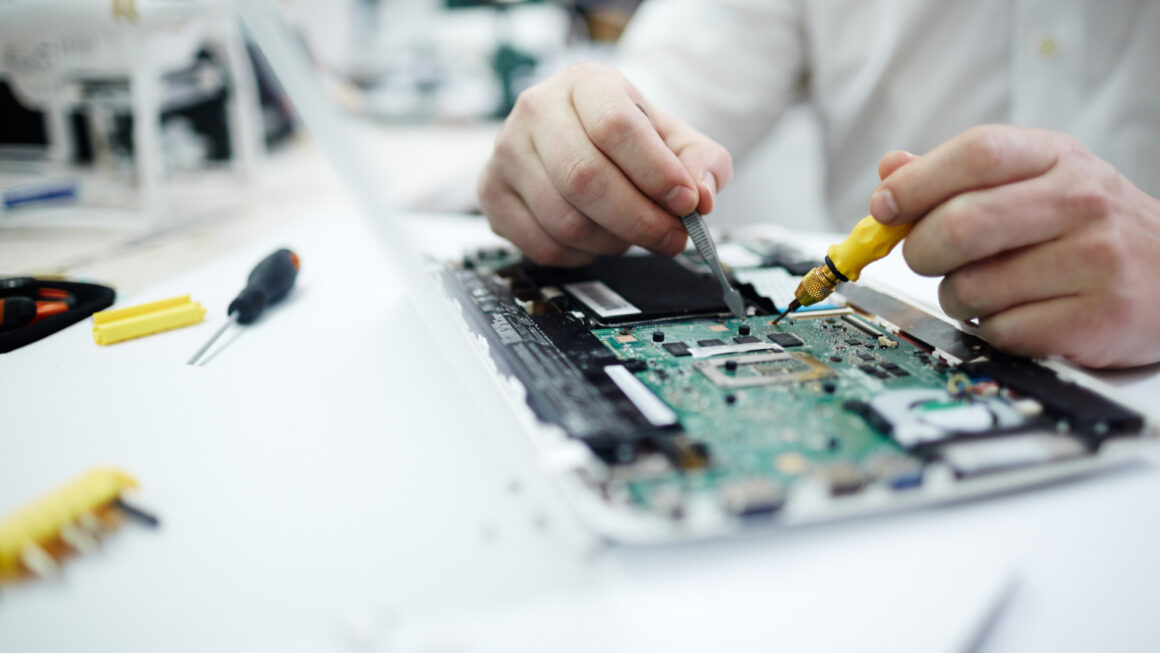
Materials and Tools Needed:
- Screwdriver (flathead or Phillips)
- Wire stripper
- Electrical tape
- Voltage tester
- Light switch
- Wire nuts
- Electrical wires (black, white, and green or bare)
Step 1: Turn Off the Power
Before starting any electrical work, it’s essential to turn off the power to the circuit you’ll be working on. Go to the circuit breaker box and locate the breaker that controls the power to the light switch. Turn the breaker off to cut the power to the circuit.
Use a voltage tester to ensure that the power is off before starting any work on the switch. Insert the tester into the outlet or switch box and touch the probe to the wires inside. If the tester lights up, there is still power running to the circuit. Go back to the circuit breaker box and double-check that you’ve turned off the correct breaker.
Step 2: Remove the Old Switch
Once you’re sure that the power is off, you can remove the old switch. Use a screwdriver to unscrew the cover plate and expose the switch. Remove the screws holding the switch in place and gently pull it out of the box.
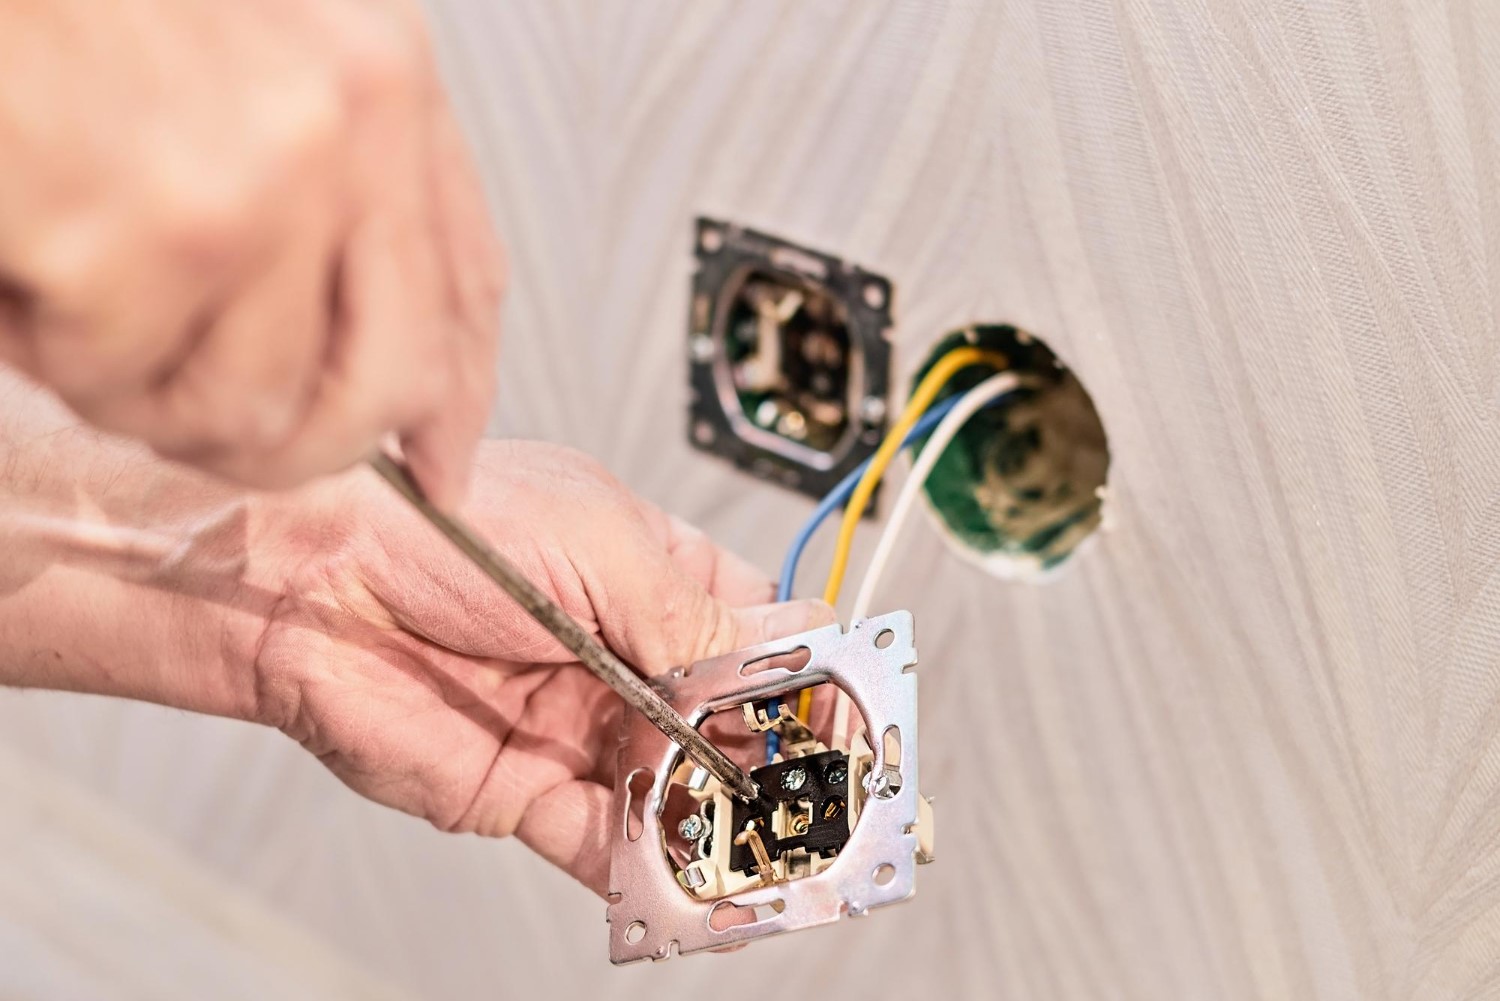
Step 3: Prepare the Wires
Before wiring the new switch, you’ll need to prepare the wires. Use a wire stripper to remove approximately ¾ inch of insulation from the end of each wire. There will typically be three wires in the switch box: a black (or red) wire, a white wire, and a green or bare copper wire. The black wire is the “hot” wire, the white wire is the “neutral” wire, and the green or bare wire is the “ground” wire.
Step 4: Connect the Ground Wire
The ground wire is typically green or bare copper. It should be connected to the green screw on the switch. If your switch doesn’t have a green screw, connect the ground wire to the metal box or a grounding screw inside the box.
Step 5: Connect the Hot Wire
The hot wire is typically black (or red). It should be connected to the screw on the switch marked “common” or “COM.” If your switch has two screws marked “common,” it doesn’t matter which one you connect the hot wire to.
Step 6: Connect the Neutral Wire
The neutral wire is typically white. It should be connected to the screw on the switch marked “neutral” or “N.” If your switch doesn’t have a screw marked “neutral,” connect the neutral wire to the neutral wire in the switch box. The neutral wire may also be connected to a group of other neutral wires in the box.
Step 7: Double-Check the Connections
After connecting the wires, double-check the connections to ensure that they’re secure. The wires should be wrapped around the screws in a clockwise direction and tightened down with a screwdriver. You can also use wire nuts to secure the connections.
Step 8: Install the New Switch
Once the connections are secure, you can install the new switch. Gently push the wires back into the box and screw the switch in place. Replace the cover plate and screw it in place.
Step 9: Test the Switch
After installing the new switch, turn the power back on and test the switch to make sure it’s working correctly. If the switch isn’t working, double-check the connections and make sure that the power is on the circuit.
Step 10: Clean Up
Once you’re finished with the installation, clean up the work area by removing any debris or tools. Make sure to properly dispose of any excess wiring or packaging materials. Finally, turn off the power to the circuit and securely close the switch box cover. Your light switch is now wired and ready to use!
Conclusion
Wiring a light switch is a relatively simple process that can be done by anyone with a basic understanding of electrical work. It’s essential to follow proper safety protocols, turn off the power, and use the necessary tools and materials to ensure a successful installation.
By following the steps outlined in this guide, you can wire a light switch safely and correctly. Remember to double-check all connections, test the switch, and clean up the work area once you’re finished.
If you’re unsure about any step of the process or have any concerns about your ability to complete the installation, it’s always best to consult a professional electrician. With the right tools, materials, and knowledge, you can successfully wire a light switch and enjoy the convenience of easy lighting control.