
Drawing a flower is a beautiful way to express your creativity and capture the natural beauty of the world around us. You can draw a flower using a variety of methods and styles, regardless of your level of artistic ability.
We will go over every detail you require to draw a lovely flower in this article.
Step 1: Choose your flower and reference image
The first step in drawing a flower is to choose the type of flower you want to draw. Flowers come in countless varieties, each with a distinctive shape, color, and texture.
Some popular flowers to draw include roses, daisies, sunflowers, and lilies. Once you have chosen your flower, find a reference image to work from. This could be a photograph or a real-life flower.
Step 2: Sketch the basic shape of the flower
The next step is to sketch the basic shape of the flower. Start by lightly sketching the outline of the flower using a pencil. Pay attention to the size and proportions of the flower, as well as any distinctive features such as petals or leaves. Use simple shapes and lines to create the basic structure of the flower.
Step 3: Add details to the flower
Once you have sketched the basic shape of the flower, it’s time to add more details. Start by adding the petals of the flower. Pay attention to the petals’ size, shape, and any patterns or textures that may be present.
You can also add the stem and leaves of the flower at this stage. Make sure to keep the proportions of the flower in mind as you add details.
Step 4: Shade the flower
Shading is an important technique in drawing that can help give your flower a sense of depth and dimension. Start by identifying the light source in your reference image. Then, use a pencil or other shading tool to add shading to the flower. Pay attention to the areas of the flower that would be in shadow and use a lighter touch on the areas that would be in the light.
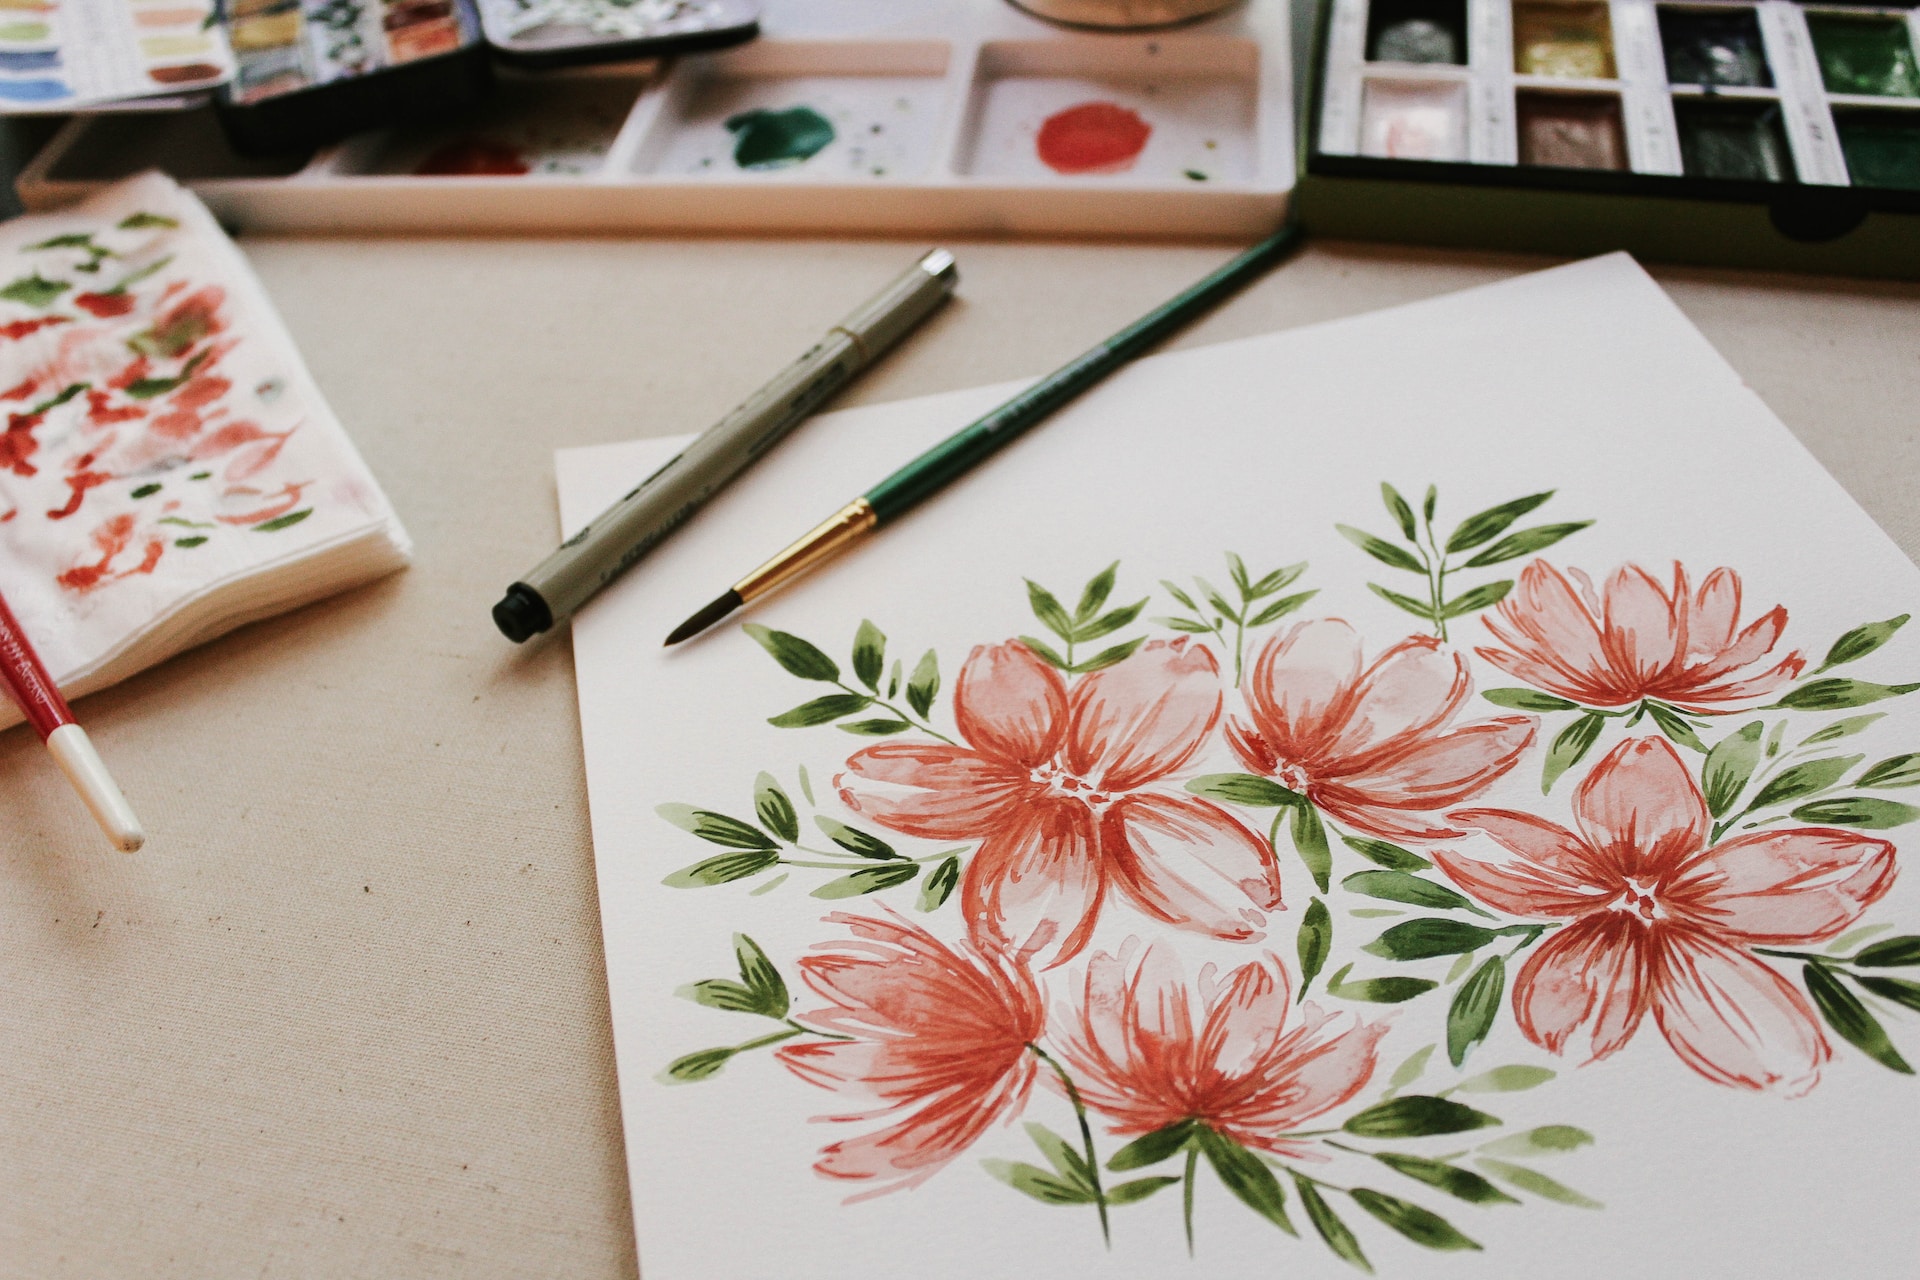
Step 5: Add color to the flower
Adding color to your flower is a great way to make it come to life. You can add color to your drawing in a variety of ways, such as with colored pencils, markers, or watercolors. Choose the medium that works best for you and start adding color to the petals, stems, and leaves of the flower. Pay attention to the shades and tones of the colors in your reference image and use them as a guide.
Step 6: Add finishing touches
Once you have added color to your flower, it’s time to add any finishing touches. This could include adding highlights or shadows, adjusting the shading or color, or adding additional details to the flower. Take a step back and look at your drawing to see if there are any areas that need additional work.
Tips for drawing a beautiful flower
- Use a light touch when sketching and shading to avoid making any mistakes that are difficult to erase
- Pay attention to the proportions of the flower to ensure that it looks realistic
- Look for patterns and textures on the petals and leaves of the flower to add depth and dimension to your drawing
- Use shading to create contrast and depth in your drawing
Don’t be afraid to try out various color schemes and shading methods to produce a distinctive and lovely drawing. With practice, you can produce stunning and detailed drawings that perfectly capture the beauty of nature. Drawing flowers can be a rewarding and satisfying experience. Keep in mind to take your time, focus on the small things, and delight in the creative process.